分类 默认分类 下的文章

acme.sh 证书自动签证步骤记录

截止目前免费的https证书都只有3个月有效期了,这是逼着我们买或者自动部署了...
没办法,不能将就了,前前后后部署了5个证书了,简单记录一下要点避免后面忘记了

安装

curl https://get.acme.sh | sh -s email=你的邮箱

国内服务器可能会安装失败,可以将源码下载下来后安装

git clone https://github.com/acmesh-official/acme.sh.git
cd ./acme.sh
./acme.sh --install -m 你的邮箱

设置别名

alias acme.sh=~/.acme.sh/acme.sh

切换CA

目前acme.sh默认的CA是zerossl,我在国内的服务器会出现访问超时的情况,我手动切换成了Let’s Encrypt,国外的没问题.如果后续申请证书出问题,可以考虑切换CA

acme.sh --set-default-ca --server letsencrypt

申请证书

dns和http方式我都试过,个人觉得还是http好用,不同dns还要设置不同的ak,记起来也麻烦.记录一下http的方式
需要注意的是nginx中要设置一下端口80的访问路径,让/.well-known/xxx 能正确访问
这里提供一个conf参考:

server {
    listen 80;
    server_name      你的域名;
    root    /var/www/html/xxx;  #自己建个文件夹,acme.sh会自动在里面创建 /.well-known/xxx 让CA来确认
    index    index.html;
    
    #一键申请SSL证书验证目录相关设置
        location ^~ /.well-known {
            allow all;
        }
    # 其他的重定向到443
    location / {
        return 301 https://$host$request_uri;
    }
}

设置完记得nginx -s reload一下,
然后就是申请证书:

acme.sh --issue -d 你的域名 -w /var/www/html/xxx  # -w跟你配置里设置的目录

等待一会就成功了,如果一直没成功,看一下域名解析有没指向你的IP,还有问题手动建一个.well-known文件夹,里面放个aaa.txt,试下访问看能不能成功,不能成功的话看一下配置有没问题

安装证书

到上一步acme.sh已经会自动申请证书了,这一步其实是把在~/.acme.sh/目录下的证书移动到你nginx里面配置的证书目录上,并且修改证书后自动重启nginx.
记录一下我习惯放的目录的命令:

acme.sh --install-cert -d 你的域名 --key-file  /etc/nginx/ssl/你的域名.key  --fullchain-file  /etc/nginx/ssl/你的域名.pem --reloadcmd   "nginx -s reload"

然后nginx中记得配置你设置的证书存放位置:

server {
    listen    443 ssl;
    server_name    你的域名;
    ssl_certificate     /etc/nginx/ssl/你的域名.pem;
    ssl_certificate_key    /etc/nginx/ssl/你的域名.key;    
    ssl_session_cache shared:le_nginx_SSL:1m;
    ssl_session_timeout 1440m;
    ssl_protocols TLSv1 TLSv1.1 TLSv1.2 TLSv1.3;
    ssl_prefer_server_ciphers on;
    ssl_ciphers TLS13-AES-256-GCM-SHA384:TLS13-CHACHA20-POLY1305-SHA256:TLS13-AES-128-GCM-SHA256:TLS13-AES-128-CCM-8-SHA256:TLS13-AES-128-CCM-SHA256:EECDH+CHACHA20:EECDH+CHACHA20-draft:EECDH+ECDSA+AES128:EECDH+aRSA+AES128:RSA+AES128:EECDH+ECDSA+AES256:EECDH+aRSA+AES256:RSA+AES256:EECDH+ECDSA+3DES:EECDH+aRSA+3DES:RSA+3DES:!MD5;

    ...
}

如果你跟我一样,喜欢先运行acme.sh --install-cert成功后再修改nginx的conf的话,修改完成后记得手动运行一次

nginx  -s reload

Other

有的时候安装错了会要移除,这里记录一下

acme.sh --remove -d 你的域名

查看有哪些域名正在自动管理中

acme.sh --list

dns形式申请证书
在运行命令之前先export对应dns的id和secret,不同的dns的变量名称不一样,以腾讯云为例:

export Tencent_SecretId="id"
export Tencent_SecretKey="key"

然后运行

acme.sh --issue --dns dns_tencent -d 你的域名

运行成功后下次不需要再export变量名了,acme.sh会把id和secret记录在~/.acme.sh目录里的config中,如果变了去里面手动修改就行了.

泛域名我试过一次,但是没成功,还是老老实实一个域名跑一次流程算了....
Threejs实现Points对象实时指向指定坐标

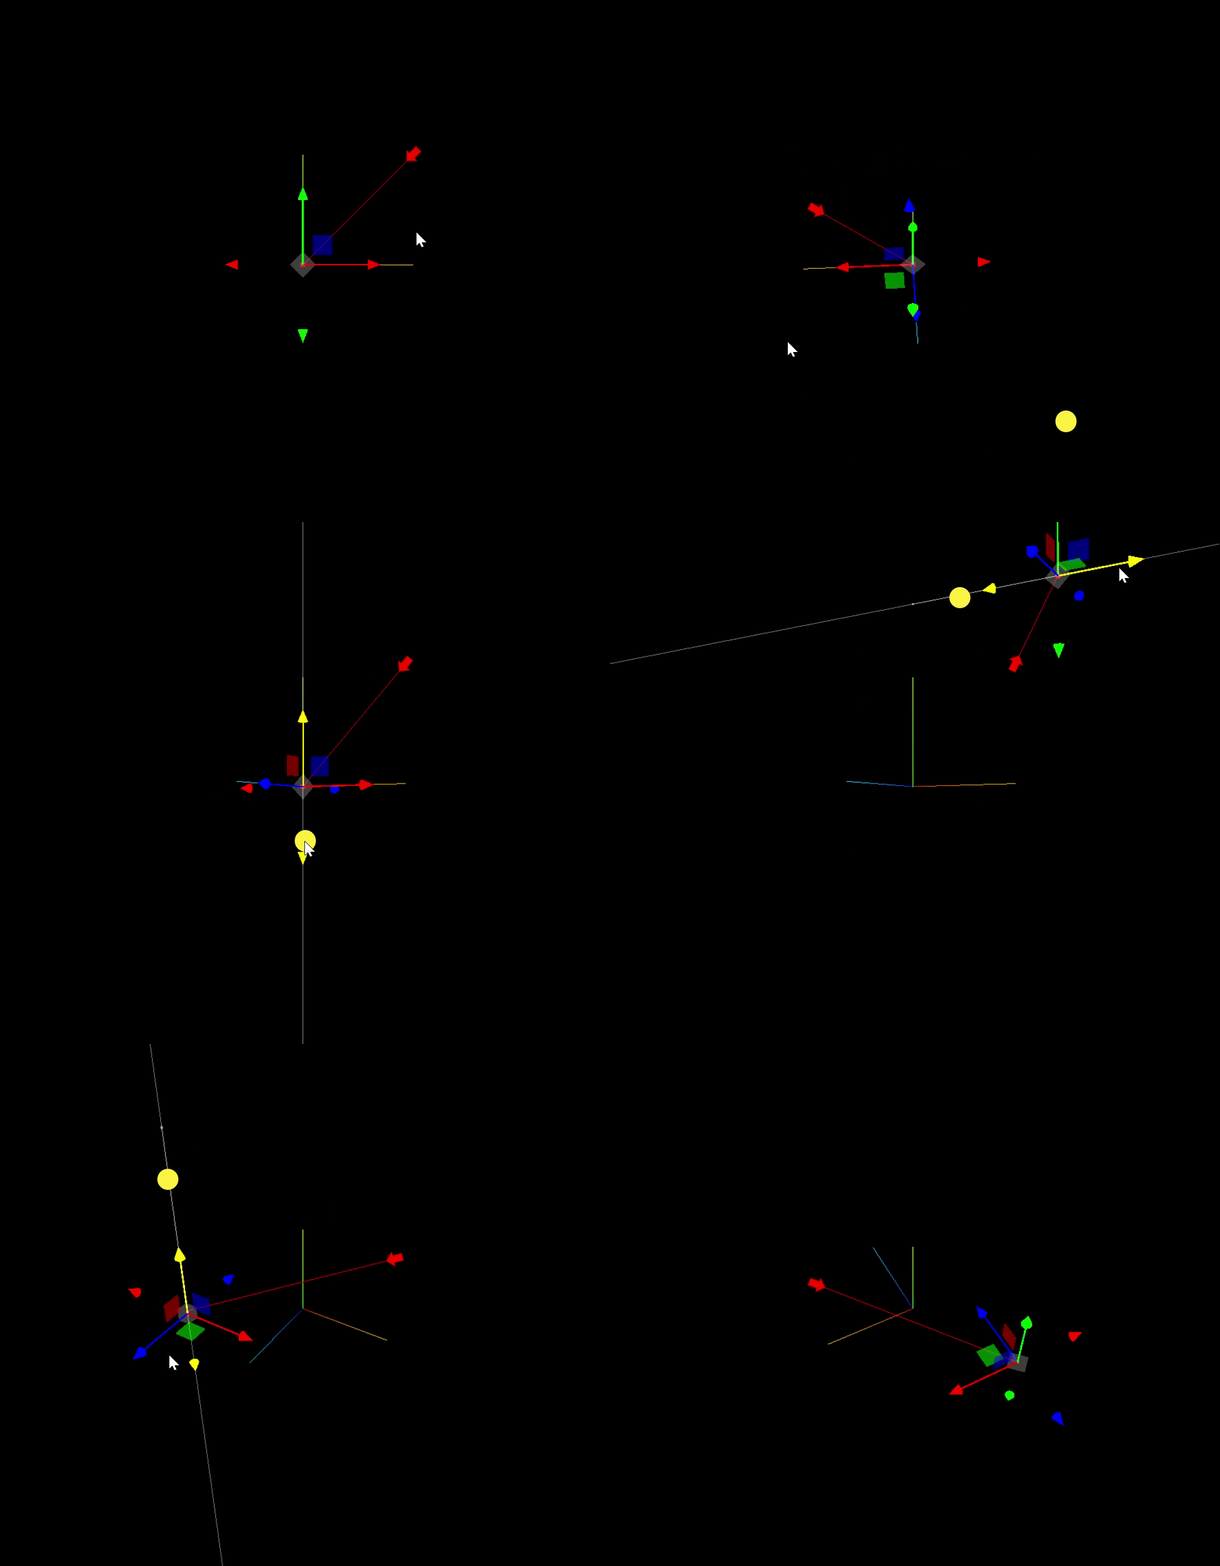
全景图里常常会往场景里添加箭头,希望箭头可以指向某个3d坐标
箭头指向目标点

matrial关键代码:

function createMaterial(size = 24) {
  const vertexShader = `
    attribute vec3 a_direction;
    uniform float u_size;
    uniform float u_aspect;
    varying float v_rotation;

    void main(){
      gl_PointSize = u_size;
      // 箭头的位置坐标
      vec4 mvPosition = projectionMatrix * modelViewMatrix * vec4( position, 1.0 );
      // 箭头指向的位置坐标
      vec4 targetPos = projectionMatrix * modelViewMatrix * vec4(a_direction, 1.0);

      vec2 dir = targetPos.xy/targetPos.w -mvPosition.xy/mvPosition.w;
      float theta = atan(dir.y / u_aspect, dir.x);

      v_rotation =  theta; //  mod( theta + PI, 2.0 * PI );
      gl_Position = mvPosition;
    }
  `;
  const fragmentShader = `
    uniform vec3 u_color;
    uniform float u_opacity;
    uniform sampler2D u_map;
    varying float v_rotation;

    void main(){

      vec2 uv = gl_PointCoord - vec2(0.5);

      float xn = uv.x * cos(v_rotation) - uv.y * sin(v_rotation);
      float yn = uv.x * sin(v_rotation) + uv.y * cos(v_rotation);

      vec2 new_uv = vec2(xn +0.5, yn+0.5);

      if(new_uv.x < 0.0 || new_uv.x > 1.0 || new_uv.y < 0.0 || new_uv.y > 1.0){
        discard;
      }

      float mapColor = texture2D(u_map, new_uv).r;

      gl_FragColor = vec4(u_color, u_opacity * mapColor);
    }
  `;
  const texture = createCanvasTexture();
  const usize = size * window.devicePixelRatio;
  const material = new ShaderMaterial({
    uniforms: {
      u_size: { value: usize },
      u_color: { value: new Color(0xff0000) },
      u_opacity: { value: 1 },
      u_map: { value: texture },
      u_aspect: { value: aspect },
    },
    defines: {
      PI: Math.PI,
    },
    vertexShader,
    fragmentShader,
    transparent: true,
  });
  return material;
}

需要注意的是shader里面获取到的向量还需要除以canvas真实宽高比,否则计算出来的角度会不对.

附上github源码及demo

github源码地址
示例demo

WEBGL实现带数字的圆点

废话不说,代码如下

// 绘制带数字的圆点
import {
  Scene,
  BufferGeometry,
  Points,
  PerspectiveCamera,
  Vector3,
  WebGLRenderer,
  CanvasTexture,
  ShaderMaterial,
  Color,
  BufferAttribute,
} from "three";

let renderer, scene, camera;
const width = window.innerWidth;
const height = window.innerHeight;

function init() {
  const container = document.getElementById("app");
  scene = new Scene();

  camera = new PerspectiveCamera(45, width / height, 1, 10000);
  camera.position.set(0, 0, 18);
  camera.lookAt(scene.position);
  camera.updateMatrix();

  const points = createPoint();
  scene.add(points);

  // const helper = new AxesHelper(5);
  // scene.add(helper);

  renderer = new WebGLRenderer();
  renderer.setSize(width, height);

  container.appendChild(renderer.domElement);
}

function createPoint() {
  const geometry = new BufferGeometry().setFromPoints([
    new Vector3(-3, 3, 0),
    new Vector3(0, 3, 0),
    new Vector3(3, 3, 0),

    new Vector3(-3, 0, 0),
    new Vector3(0, 0, 0),
    new Vector3(3, 0, 0),

    new Vector3(-3, -3, 0),
    new Vector3(0, -3, 0),
    new Vector3(3, -3, 0),

    new Vector3(0, 6, 0),
  ]);

  const numbers = [1, 2, 3, 4, 56789, 6, 7, 768, 19, 0];

  geometry.setAttribute(
    "a_number",
    new BufferAttribute(new Float32Array(numbers), 1)
  );

  const material = new createMaterial();
  const points = new Points(geometry, material);
  return points;
}

function animate() {
  requestAnimationFrame(animate);
  renderer.render(scene, camera);
}

init();
animate();
// testAppendCanvas();

function createCanvasSpirit() {
  const SIZE = 64;
  const canvas = document.createElement("canvas");
  const ctx = canvas.getContext("2d");

  canvas.width = SIZE * 10;
  canvas.height = SIZE;

  ctx.font = SIZE + "px serif";
  ctx.fillStyle = "#000";
  // 居中
  ctx.textAlign = "center";
  ctx.textBaseline = "middle";

  for (let i = 0; i < 10; i++) {
    ctx.fillText(i, SIZE * i + SIZE / 2, SIZE / 2);
  }

  return canvas;
}

function testAppendCanvas() {
  const canvas = createCanvasSpirit();
  canvas.style.border = "1px solid #000";
  canvas.style.marginTop = "10px";
  canvas.style.marginLeft = "10px";
  const container = document.getElementById("app");
  container.appendChild(canvas);
}

function createCanvasTexture() {
  const canvas = createCanvasSpirit();
  const texture = new CanvasTexture(canvas);
  return texture;
}

function createMaterial() {
  const vertexShader = `
    attribute float a_number;
    uniform float u_size;
    varying float v_number;


    void main(){
      v_number = a_number;

      gl_PointSize = u_size;
      gl_Position = projectionMatrix * modelViewMatrix * vec4( position, 1.0 );
    }
  `;
  const fragmentShader = `
    uniform vec3 u_color;
    uniform vec3 u_front_color;
    uniform sampler2D u_number_spirit;

    varying float v_number;
    float numDigits(float num) {
      float digits = 1.0;
      while (num >= 10.0) {
        num = floor( num / 10.0 );
        digits += 1.0;
      }
      return floor(digits);
    }

    float getNumByDigits(float num, float digits) {
      float digit = floor( mod(num / pow(10.0, digits ), 10.0) );
      return digit;
    }

    void main() {
      float dist = distance( gl_PointCoord, vec2(0.5,0.5) );
      float discard_opacity =  1.0 - smoothstep( 0.48, 0.5, dist );
      if( discard_opacity == 0.0 ) discard;

      vec2 uv = vec2( gl_PointCoord.x,1.0- gl_PointCoord.y);

      float index = mod(v_number, pow(10.0,MAX_DIGITS) );
      float num_length = numDigits(index); // 数字长度

      uv = clamp((uv - 0.5) * (0.8 + num_length * 0.2) + 0.5,0.0,1.0);

      float num_step = 1.0 / num_length; // 每位数字占的宽度
      float current_digits = floor( uv.x / num_step ); // 当前uv渲染的是第几个数字

      float value = getNumByDigits(index, num_length - 1.0 - current_digits);  // 需要渲染的对应数字

      float x = mod(uv.x,num_step)/num_step * 0.1;
      if(num_length > 1.0){
        x = x/2.0 +  value * 0.1 + 0.025;
      }else{
        x += value * 0.1;
      }
      float y = uv.y;

      float opacity = texture2D( u_number_spirit, vec2(x,y)).a;
      opacity = step(0.1,opacity) * opacity;

      vec3 color = mix(u_color, u_front_color, opacity);

      vec4 diffuseColor = vec4( color, 1.0 * discard_opacity );
      gl_FragColor = diffuseColor;
    }

  `;

  const texture = createCanvasTexture();
  const size = 64 * window.devicePixelRatio;
  const material = new ShaderMaterial({
    uniforms: {
      u_size: { value: size }, // 点的大小
      u_color: { value: new Color(0x00ff00) }, // 背景填充色
      u_front_color: { value: new Color(0xff0000) }, // 文字颜色
      u_number_spirit: { value: texture }, // 数字纹理
    },
    defines: {
      MAX_DIGITS: "3.0", // 最大支持3位数
    },
    vertexShader,
    fragmentShader,
    transparent: true,
  });
  return material;
}

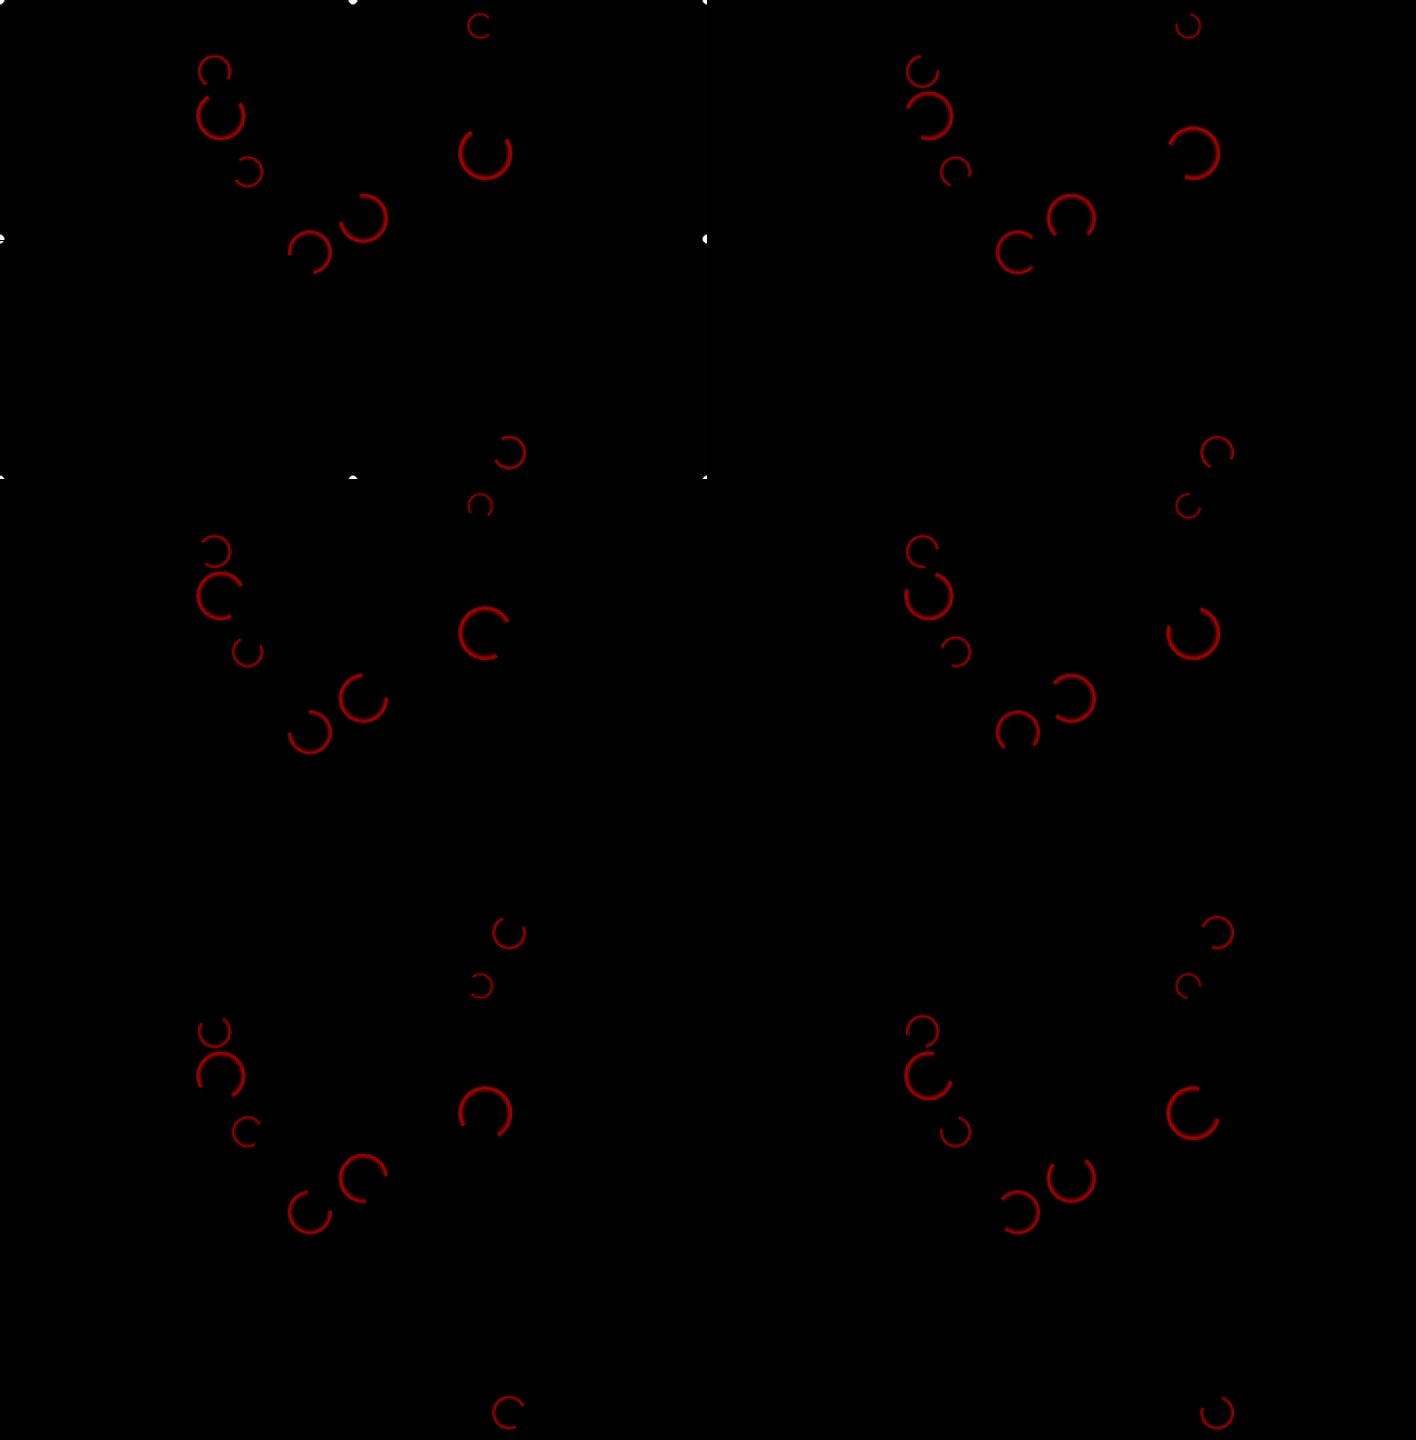
WEBGL中使用shader实现旋转的圆环

1.实现圆环绘制

// fragmentshader
void main() {
  float radius = 0.5;
  vec2 st = gl_PointCoord.xy;
  float dist = distance(st,vec2(0.5,0.5));

  float alpha = smoothstep(radius-0.12,radius,dist) - smoothstep(radius-0.1,radius,dist);
  gl_FragColor = vec4( 1.0,0.0,0.0, alpha);
}

2.让圆环存在一个1/4的缺口(具体大小可以自己调整)

// fragmentshader
#define PI 3.14159265359
void main() {
  float radius = 0.5;
  vec2 st = gl_PointCoord.xy;
  float dist = distance(st,vec2(0.5,0.5));

  float alpha = smoothstep(radius-0.12,radius,dist) - smoothstep(radius-0.1,radius,dist);
  float theta = mod( atan(st.y - 0.5,st.x - 0.5) + PI , PI*2.0);
  float a = step( PI/2.0, theta );
  gl_FragColor = vec4( 1.0,0.0,0.0, alpha*a);
}

完整html的demo:

<!DOCTYPE html>
<html lang="en">
  <head>
    <meta charset="UTF-8" />
    <meta name="viewport" content="width=device-width, initial-scale=1.0" />
    <title>Document</title>
    <style>
      * {
        margin: 0;
        padding: 0;
      }
    </style>
  </head>
  <body>
    <script type="x-shader/x-vertex" id="vertexshader">
attribute float aSize;
attribute float aStartAngle;

varying float vStartAngle;

void main() {
  vStartAngle = aStartAngle;
  gl_PointSize = aSize;

  gl_Position = projectionMatrix * modelViewMatrix * vec4( position, 1.0 );
}
    </script>

    <script type="x-shader/x-fragment" id="fragmentshader">
uniform float uTheta;
varying float vStartAngle;
void main() {
  float radius = 0.5;
  vec2 st = gl_PointCoord.xy;
  float dist = distance(st,vec2(0.5,0.5));

  float alpha = smoothstep(radius-0.15,radius,dist) - smoothstep(radius-0.05,radius,dist);
  float theta = mod( atan(st.y - 0.5,st.x - 0.5) + PI + vStartAngle + uTheta , PI*2.0);
  float a = step( PI/2.0, theta );
  gl_FragColor = vec4( 1.0,0.0,0.0, alpha*a);
}
    </script>
    <script type="module">
      import * as THREE from "https://unpkg.com/three@0.155.0/build/three.module.js";
      // import * as THREE from './three.module.js'

      const scene = new THREE.Scene();
      const camera = new THREE.PerspectiveCamera(
        75,
        window.innerWidth / window.innerHeight,
        0.1,
        1000
      );

      const renderer = new THREE.WebGLRenderer();
      renderer.setSize(window.innerWidth, window.innerHeight);
      document.body.appendChild(renderer.domElement);

      const geometry = new THREE.BufferGeometry();
      const positions = [];
      const sizes = [];
      const startAngles = [];
      for (let i = 0; i < 10; i++) {
        // position
        for (let s = 0; s < 3; s++) {
          positions.push(Math.random() * 5 - 2.5);
        }

        // size
        sizes.push(20 + Math.random() * 30);

        // startAngle 让每个圆环不要看起来是同步的
        startAngles.push(Math.random() * Math.PI * 2);
      }

      geometry.setAttribute(
        "position",
        new THREE.Float32BufferAttribute(positions, 3)
      );
      geometry.setAttribute(
        "aSize",
        new THREE.Float32BufferAttribute(sizes, 1)
      );
      geometry.setAttribute(
        "aStartAngle",
        new THREE.Float32BufferAttribute(startAngles, 1)
      );

      const material = new THREE.ShaderMaterial({
        vertexShader: document.getElementById("vertexshader").textContent,
        fragmentShader: document.getElementById("fragmentshader").textContent,
        uniforms: {
          uTheta: { value: (Date.now() * 0.01) % (Math.PI * 2) },
        },
        defines: {
          PI: Math.PI,
        },
        transparent: true,
      });

      const points = new THREE.Points(geometry, material);

      scene.add(points);

      camera.position.z = 5;

      function animate() {
        requestAnimationFrame(animate);

        material.uniforms.uTheta.value = (Date.now() * 0.01) % (Math.PI * 2);

        renderer.render(scene, camera);
      }

      animate();
    </script>
  </body>
</html>

https://pic1.zhimg.com/v2-4d47e7de914f256f2035482338aa4244_b.webp

旋转椭圆外包围盒计算

前段时间实现了一下椭圆工具的编辑工具,里面涉及到计算椭圆的外包围盒.隐隐觉得椭圆应该有计算外包围盒的数学方法,可惜问GPT4永远都是循环360度去算边缘返回外包围盒.要不就是按照正椭圆的方式来算外包围盒.
昨天认真搜索了一下竟然真搜索到了计算方法.(果然gpt还是没法完全替代搜索引擎的O(∩_∩)O哈哈~)

附上参考链接
https://cloud.tencent.com/developer/article/2067487?from=15425&areaSource=102001.10&traceId=Wd9aL_9AgUh-MndIu61Dv

再附上自己写的js实现

// centerX,centerY 椭圆中心点,a 长轴,b 短轴, theta 弧度
export function getEllipseBoundingBox(centerX: number, centerY: number, a: number, b: number, theta: number) {
  const sin_theta = Math.sin(theta)
  const cos_theta = Math.cos(theta)

  const A = a ** 2 * sin_theta ** 2 + b ** 2 * cos_theta ** 2
  const B = 2 * (a ** 2 - b ** 2) * sin_theta * cos_theta
  const C = a ** 2 * cos_theta ** 2 + b ** 2 * sin_theta ** 2
  const D = -(a ** 2 * b ** 2)

  const h = Math.sqrt((4 * A * D) / (B ** 2 - 4 * A * C))

  const w = Math.sqrt((4 * C * D) / (B ** 2 - 4 * A * C))

  const minX = centerX - w
  const maxX = centerX + w
  const minY = centerY - h
  const maxY = centerY + h

  return { minX, maxX, minY, maxY }
}